
Plugin workflows
Gain staging before plugins: a practical session check
Trace level through your session, distinguish plugin drive from fader balance, and stop fixing overload at the wrong point.
Gain staging means controlling level where a signal enters, leaves, or combines with another signal. Before adjusting a meter, identify the job: prevent recording overload, set a processor's drive, or balance the processed track. A channel fader after an insert cannot reduce the level that already drove that insert.
By Spectraforge Audio3 min read
Published · Updated
Guide review: Captum Records and AS Mastering. AI-assisted writing and source checks. How these guides are made.
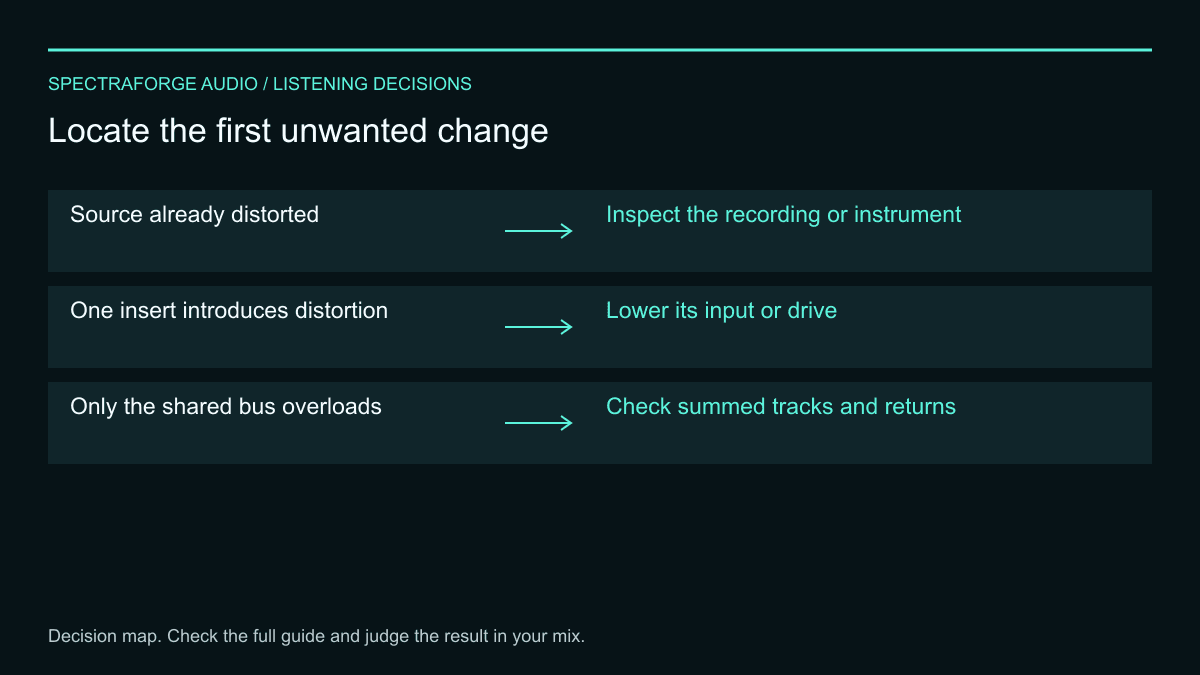
Set input for the sound, output for the balance
There is no single peak or average value that every track needs to reach. Use a modelled processor's documented calibration when it has one; otherwise trace the loudest relevant phrase through the chain and locate the first unwanted change.
| What you hear | First move | Check |
|---|---|---|
| Source already distorted | Inspect the recording or instrument | A later trim cannot reconstruct clipped audio |
| One insert introduces distortion | Lower its input or drive | Restore listening level after the processor |
| Only the shared bus overloads | Check summed tracks and returns | Reduce level before the overloaded destination |
Locate the first damaged stage
Follow the source through clip gain, input trim, inserts, track fader, group, and main output. Include the strongest note, not just a quiet intro. Check the host's signal path: a send or meter may tap before a control you are moving.
Compare each stage at a similar listening level. If the recording is already clipped, turning it down will not restore the missing waveform. If distortion first appears in an insert, reduce the level entering that insert. If tracks are clean individually but their sum overloads the destination, address that shared output.
- Distortion remains with all inserts removed: inspect the recorded source or instrument output.
- Distortion starts at one insert: adjust its input or drive, then restore comparison level after it.
- Only the shared bus overloads: check summed tracks and returns at that bus.
- A red internal meter without audible distortion: investigate the stage's actual headroom; do not assume the recording or export is safe.
Worked example: moving 6 dB around a saturator
Take a drum loop and place clean gain controls before and after a saturator. Leave the saturator's settings fixed. Reduce the upstream gain by 6 dB and add 6 dB downstream, then refine the output match by ear. These are suggested test settings, not a recommended recording level.
With a purely linear processor, those opposite gain changes would cancel in level. A saturator can produce a different texture because its input changed. Listen for snare edge and density between hits. FabFilter Saturn 2's Drive control is one documented example of input-dependent processing. Moving only its output changes balance rather than undoing the distortion it generated.
Leave usable margin at the destination
Work toward the output, checking each new stage before adding another. Recheck the busiest group and main output after EQ boosts, effect returns, or arrangement changes. Internal floating-point headroom, a nonlinear plugin's limits, a converter, and a fixed-point export are separate constraints; an unclipped internal sum does not make every destination safe.
After the pass, play a quiet section too and make a short export. Confirm that intentional drive still sounds right and sends remain balanced. Keep a note beside any deliberately overdriven stage. Stop adjusting levels once the chain is stable and the musical balance works.
Technical references
Listening exercises are proposed practice routines. Worked examples illustrate the stated setup; they are not reports of our listening tests. Editorial process and corrections.